Uncover Your Glow: The Ultimate DIY Baking Soda Exfoliation Guide
That humble box of baking soda tucked away in your kitchen cupboard is far more than just a leavening agent or an odor absorber. This unassuming household staple harbors a secret weapon for your beauty routine: it's an incredibly versatile ingredient for achieving radiant, smoother skin through DIY exfoliation. If you've been searching for a natural, cost-effective way to revitalize your complexion, you've landed in the right place. Dive in to discover how to harness the power of baking soda for a truly transformative skincare experience.
The Science Behind Your Skin's Glow: Why Exfoliate?
Our skin is constantly renewing itself, but sometimes, dead skin cells don't shed as efficiently as they should. These lingering cells can accumulate on the outermost layer of your dermis, leading to a dull, rough complexion, clogged pores, and even hindering the absorption of your expensive serums and moisturizers. This is where exfoliation steps in, acting as a gentle nudge to remove that superficial layer, revealing the fresh, vibrant skin underneath.
Regular exfoliation is a cornerstone of a healthy skincare regimen for most skin types. For those with oily, combination, or "normal" skin, exfoliating 2-3 times a week can make a significant difference. If you have dry or sensitive skin, aim for once a week, or even less frequently, always listening closely to what your skin tells you. The goal isn't to strip your skin bare, but to encourage healthy cell turnover and uncover that natural luminosity.
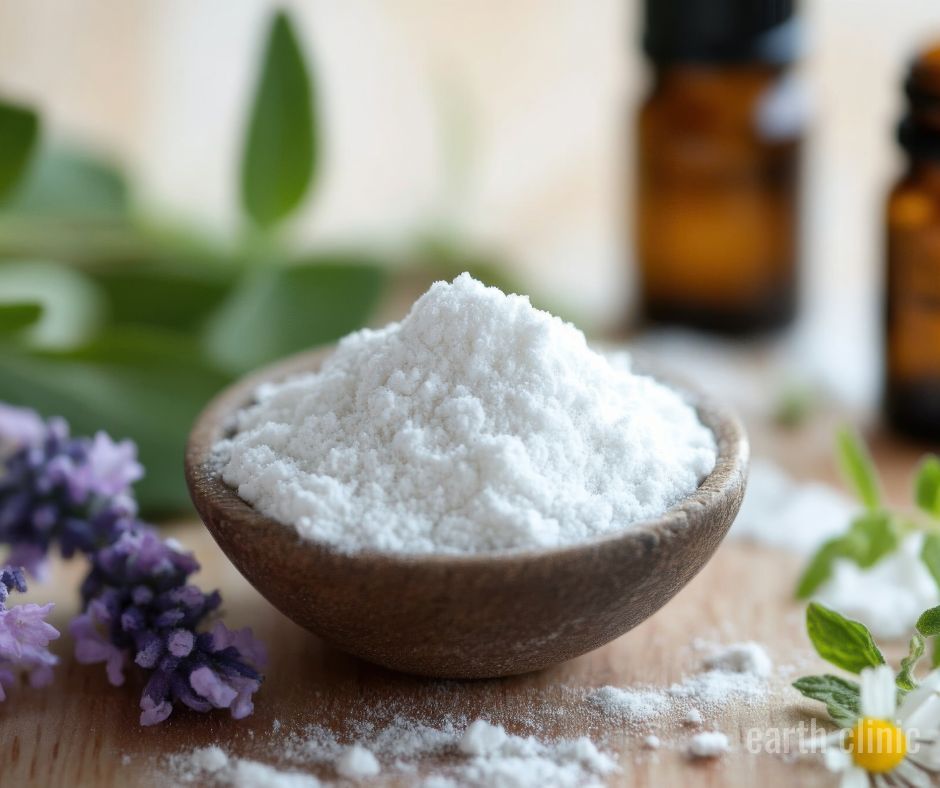
Baking soda, or sodium bicarbonate, makes an exceptional physical exfoliant due to its incredibly fine, powdery texture. Unlike coarser scrubs that can be too harsh for delicate facial skin, baking soda provides a gentle yet effective polish. This fine grit allows for thorough exfoliation without the risk of micro-tears, making it a stellar choice for achieving that smooth, touchable feel. Indeed, its unique texture is why many consider it superior for facial exfoliation compared to ingredients like sugar or coffee. For more insights into this, explore why
Fine Grit Magic: Why Baking Soda is Your Best Face Exfoliator.
Crafting Your Perfect DIY Baking Soda Exfoliant
The beauty of DIY baking soda exfoliation lies in its simplicity and adaptability. At its core, any effective scrub requires two main components: a physical exfoliant (baking soda) and an emollient, which acts as a gentle base and provides hydration. The choice of emollient allows you to tailor your scrub to your specific skin needs, enhancing its benefits and ensuring a comfortable application.
For Your Face: A Gentle Polish
When it comes to your face, delicacy is key. The skin here is thinner and more sensitive than the rest of your body, so your facial scrub should always be more emollient than abrasive. The goal is to gently buff away dead cells, not to aggressively scrub them off.
*
The Classic Water Mix: For the most straightforward scrub, combine 1 teaspoon of baking soda with just a few drops of water. Mix until you form a thin, spreadable paste. This simple concoction is excellent for a quick refresh.
*
Hydrating Coconut Oil Blend: Coconut oil is renowned for its moisturizing properties. Mix 1 teaspoon of baking soda with ½ teaspoon of melted (and slightly cooled) virgin coconut oil. This combination not only exfoliates but also leaves your skin feeling incredibly soft and hydrated. If you prefer a lighter oil, sweet almond oil or jojoba oil are also fantastic choices.
*
Nourishing Vitamin E Boost: For an antioxidant kick, combine 1 teaspoon of baking soda with the contents of one vitamin E capsule (prick it with a clean pin). This blend provides deep nourishment while exfoliating.
*
Soothing Honey & Aloe: For an extra soothing and antibacterial boost, mix 1 teaspoon of baking soda with ½ teaspoon of raw honey and a tiny dollop of aloe vera gel. This is particularly beneficial for acne-prone or irritated skin.
Remember, the consistency should be a smooth, spreadable paste, not a dry, crumbly mixture. If it feels too rough, add a little more emollient.
For Your Body: All-Over Smoothness
The skin on your body is generally thicker and more resilient than your facial skin, allowing for a slightly more potent scrub. This is your chance to really slough away rough patches and reveal silky-smooth skin from head to toe.
*
The Luxurious Body Scrub: In a bowl, combine 1 cup of baking soda. Gradually add 1 tablespoon of your chosen oil (such as olive oil, grapeseed oil, or melted coconut oil) at a time, mixing thoroughly after each addition, until you reach your desired consistency. You want a thick, granular paste that can easily be spread across your skin without being too runny. This bulk recipe is perfect for storing in an airtight jar in your shower for regular use.
*
Invigorating Citrus Boost: Add the zest of half a lemon or orange to your body scrub mixture for a refreshing scent and an extra dose of natural enzymes (though use caution with sun exposure immediately after).
*
Oatmeal Infusion: For incredibly sensitive body skin, or to add extra soothing benefits, blend in a tablespoon of finely ground oatmeal with your baking soda and emollient.
These DIY baking soda scrubs can truly
DIY Baking Soda Scrubs: Reveal Smooth Skin on Your Face & Body, offering an affordable and natural path to a more radiant you.
Step-by-Step Application and Essential Tips
Once you've prepared your perfect baking soda scrub, the application process is just as crucial as the ingredients themselves. Mindful application ensures effectiveness without causing irritation.
1.
Cleanse First: Always start with clean skin. For your face, gently wash away makeup, dirt, and oil with your regular cleanser. For your body, a warm shower or bath will help soften your skin and open your pores, preparing it for exfoliation.
2.
Apply Gently: Take a small amount of your baking soda paste and apply it to damp skin. Using your fingertips, gently massage the scrub onto your skin in small, circular motions. Avoid harsh scrubbing; the fine grit of baking soda does the work for you. For facial exfoliation, focus on areas prone to dullness like the forehead, nose, and chin, avoiding the delicate eye area.
3.
Rinse Thoroughly: After about 30-60 seconds of gentle massage (no longer!), rinse off the scrub completely with lukewarm water. Ensure no residue is left behind, as baking soda can be drying if not fully removed.
4.
Moisturize Immediately: This step is non-negotiable! After rinsing, gently pat your skin dry with a clean towel and immediately apply your favorite moisturizer. This locks in hydration and helps soothe the freshly exfoliated skin.
5.
Frequency is Key: As mentioned, for most skin types (oily, combination, normal), 2-3 times a week is ideal. If you have dry or sensitive skin, stick to once a week or every other week. Listen to your skin – if it feels tight, red, or irritated, reduce frequency or stop altogether.
6.
Patch Test: Always, always perform a patch test on a small, inconspicuous area of skin (like behind your ear or on your inner arm) 24 hours before applying any new DIY scrub to your entire face or body. This helps check for any adverse reactions.
7.
"Less is More": The Golden Rule: This cannot be stressed enough. While it might seem counterintuitive, your skin needs a healthy layer of dead skin cells as a protective barrier. Over-exfoliating can disrupt this barrier, leading to irritation, redness, increased sensitivity, and even breakouts. Dr. Ife Rodney, a board-certified dermatologist, wisely advises, "The most important tip is that 'less is more.' You want to exfoliate just enough to increase cell turnover and reveal fresh new skin, but be sure to not scratch or damage your skin by overusing these devices or products." Heed this advice, and your skin will thank you.
Beyond the Basics: Enhancing Your DIY Exfoliation
While the basic baking soda and emollient scrubs are highly effective, you can further customize your experience with a few thoughtful additions.
*
Essential Oils (Use with Caution): A drop or two of certain essential oils can add therapeutic benefits and a pleasant aroma. For example, a single drop of lavender oil can provide a calming effect, while tea tree oil (diluted thoroughly) might benefit acne-prone skin due to its antibacterial properties. However, essential oils are potent and can cause irritation, especially on sensitive skin. Always research proper dilution, avoid direct application, and perform a patch test.
*
Temperature Play: Applying your scrub in a warm shower or bath can enhance its efficacy by softening the skin. Conversely, a cool rinse after exfoliation can help close pores and invigorate the skin.
*
Consistency is Key: Like any skincare routine, consistency is more important than intensity. Regular, gentle exfoliation will yield better results over time than infrequent, aggressive scrubbing.
Conclusion
The journey to radiant skin doesn't have to be complicated or expensive. With the humble power of baking soda, coupled with thoughtful care and the right emollients, you can unlock a glow that's truly your own. DIY baking soda exfoliation offers an accessible, natural, and effective way to slough off dead skin cells, improve product absorption, and reveal a smoother, brighter complexion. Remember the golden rule: be gentle, listen to your skin, and never over-exfoliate. Embrace this simple yet potent beauty secret, and prepare to uncover your natural, luminous glow!